JUnit
JUnit is the most popular test result report format which is used almost everywhere. You can export code review result data to a file in JUnit XML format easily. Jenkins, CircleCI, AppVeyor and many more analyse this format directly and can convert the report into useful artifacts. You might want to have a look at Jenkins’s JUnit graph.
Sample JUnit file:
<?xml version="1.0" encoding="utf-8"?>
<testsuites>
<testsuite package="PyLintBear" timestamp="2019-06-10T18:26:01.801875" tests="9" errors="9" name="/home/developer/coala-json/coala_json/TestOutput.py">
<testcase name="PyLintBear C0111">
<error message="line: 1, Column: 1, C0111 - Missing module docstring"></error>
</testcase>
</testsuite>
</testsuites>
How to upload JUnit to CircleCI:
To see test results as artifacts, you can add these to lines in your config file.
- store_test_results:path: test-results
Where the path key is an absolute or relative path to your working_directory containing subdirectories of JUnit XML test metadata files. Make sure that your path value is not a hidden folder (example: .my_hidden_directory would be an invalid format). After configuring CircleCI to collect your test metadata, tests that fail most often appear in a list on the details page of Insights in the application to identify flaky tests and isolate recurring issues.
You can also visit here: https://circleci.com/docs/2.0/collect-test-data/
How to upload JUnit to AppVeyor:
Test results endpoint URL has the following format:
https://ci.appveyor.com/api/testresults/{resultsType}/{jobId}
where: resultsType - test framework name to parse test results; supported parsers:
- mstest
- xunit
- nunit
- nunit3
- junit.
jobId - build job ID that is currently running; can be read from APPVEYOR_JOB_ID environment variable. Example build script in PowerShell that uploads Junit tests results in XML format:
# upload results to AppVeyor
$wc = New-Object 'System.Net.WebClient'
$wc.UploadFile("https://ci.appveyor.com/api/testresults/junit/$(($env:APPVEYOR_JOB_ID)",
               (Resolve-Path .\junit-results.xml))
You can also visit here: https://www.appveyor.com/docs/running-tests/#uploading-xml-test-results
How to upload JUnit to Jenkins:
The JUnit plugin provides a publisher that consumes XML test reports generated during the builds and provides some graphical visualization of the historical test results as well as a web UI for viewing test reports, tracking failures, and so on. Jenkins understands the JUnit test report XML format (which is also used by TestNG).
To use the plugin, from your Jenkins dashboard go to Manage Jenkins -> Manage Plugins and then you can easily install it by searching the plugin in the available plugins tab. The JUnit publisher is configured at the job level by adding a Publish JUnit test result report post build action. The configuration parameters include:
- Test report XMLs: Specify the path to JUnit XML files in the Ant glob
syntax, such as
**/build/test-reports/*.xml. Be sure not to include any non-report files into this pattern. You can specify multiple patterns of files separated by commas. The base directory of the fileset is the workspace root. - Retain long standard output/error: If checked, any standard output or error from a test suite will be retained in the test results after the build completes. (This refers only to additional messages printed to console, not to a failure stack trace). Such output is always kept if the test failed, but by default lengthy output from passing tests is truncated to save space. Check this option if you need to see every log message from even passing tests, but beware that Jenkins’s memory consumption can substantially increase as a result, even if you never look at the test results!
- Health report amplification factor: The amplification factor to apply to test failures when computing the test result contribution to the build health score. The default factor is 1.0. A factor of 0.0 will disable the test result contribution to build health score, and, as an example, a factor of 0.5 means that 10% of tests failing will score 95% health. The factor is persisted with the build results, so changes will only be reflected in new builds.
- Allow empty results: If checked, the default behavior of failing a build on missing test result files or empty test results is changed to not affect the status of the build. Please note that this setting make it harder to spot misconfigured jobs or build failures where the test tool does not exit with an error code when not producing test report files.
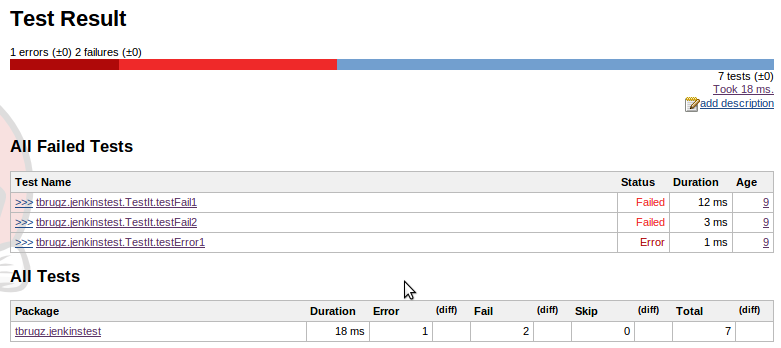
You can also visit here: https://wiki.jenkins.io/display/JENKINS/JUnit+Plugin If everything works out a ‘Test Results’ field will appear on your Jenkins build panel. The report might look something like this: